The Scream Brownies Recipe I have today is so easy to make for your Halloween party food. It’s made with a box mix then you decorate with a little frosting! Other than buying them from a bakery— these will be the easiest treat your serve for your Halloween Party Food!
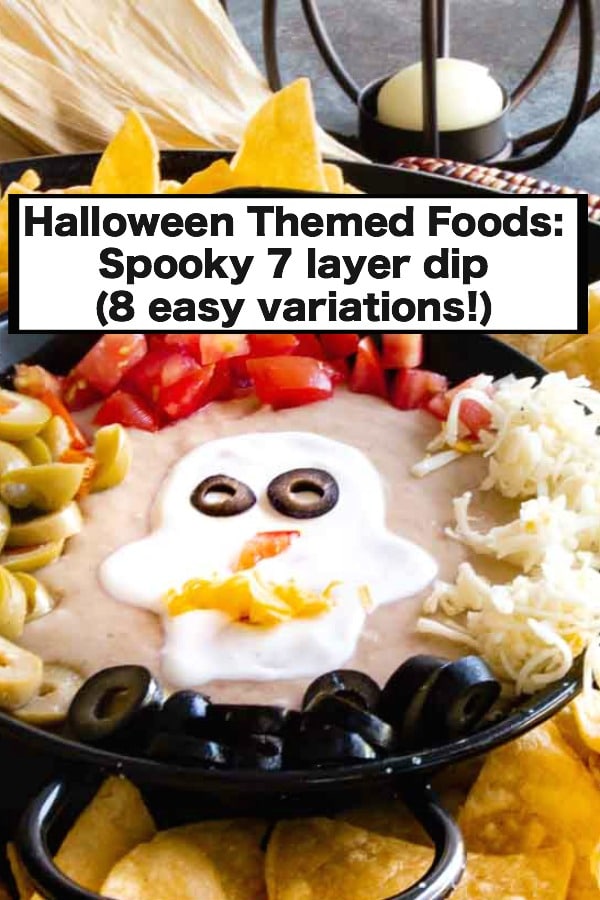
I know how much you love easy simple Halloween food ideas from the crazy popular post the Spooky 7 layer Halloween Dip! I think you’ll like how easy this one is to make too!
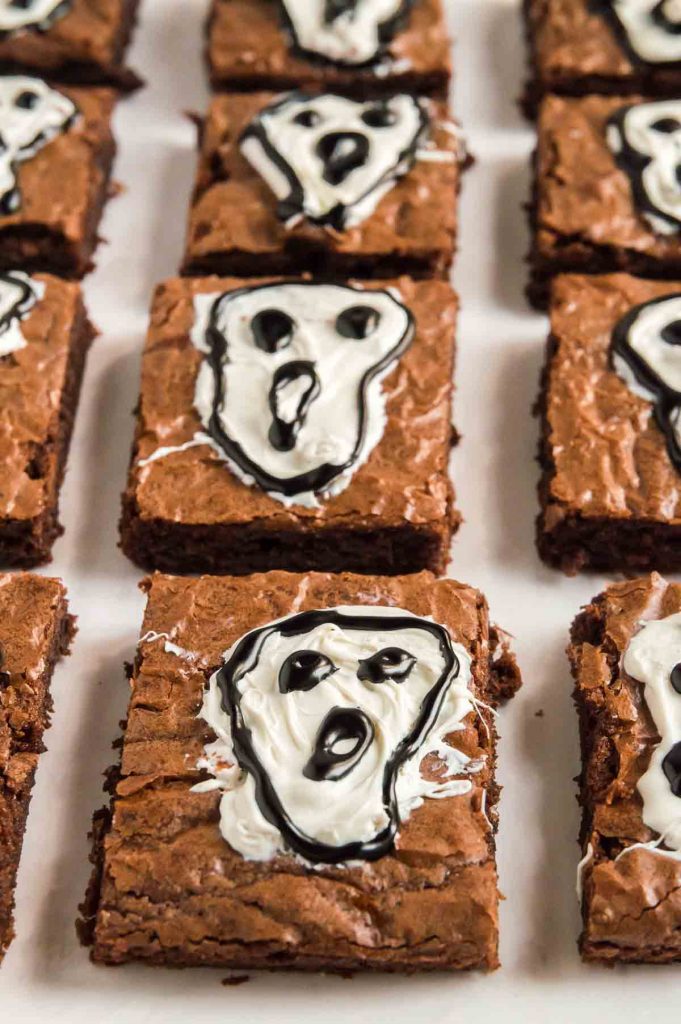
Today I have a super simple, easy recipe using store-bought brownies and decorator icing to make The Scream Brownies!
This post was originally a part of #HalloweenTreatsWeek ,I was sent samples by some of the sponsor companies but as always opinions are 100% mine.”
Who needs all the stress when making creepy and spooky-looking Halloween Party Food? I love Halloween but would rather spend the time decorating my house or dressing up than spending hours in the kitchen.
I’m excited to be a part of #halloweentreatsweek again this year! The best part? You get all the treats! Be sure and scroll down to see the big giveaway that we are having! So many fun prizes!
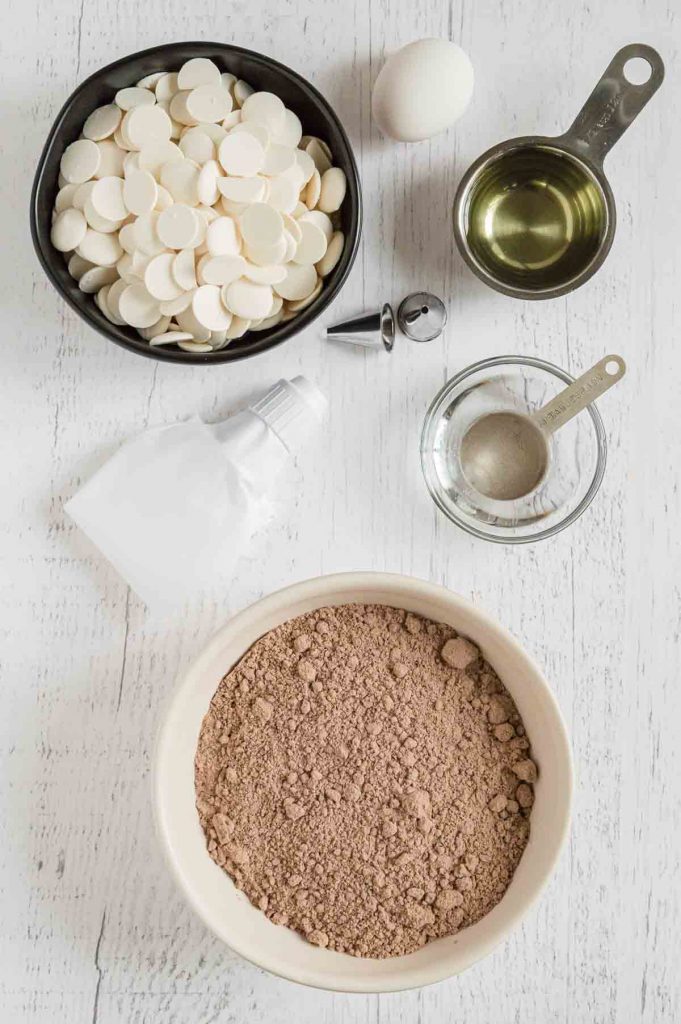

Candy melts, oil, water, brownie box mix 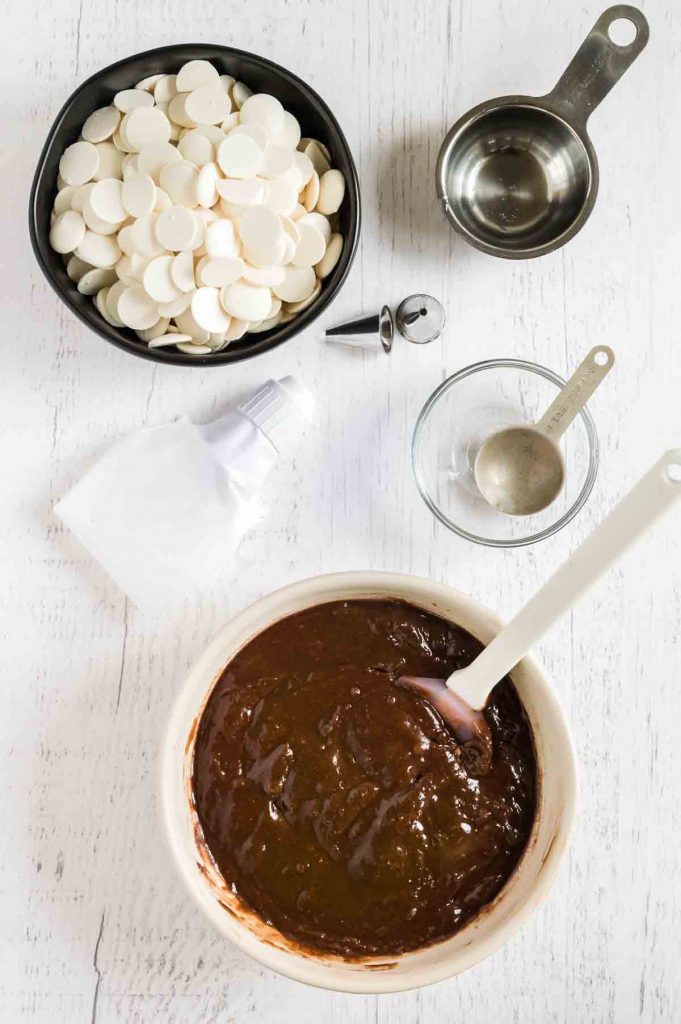
brownie mix stirred up 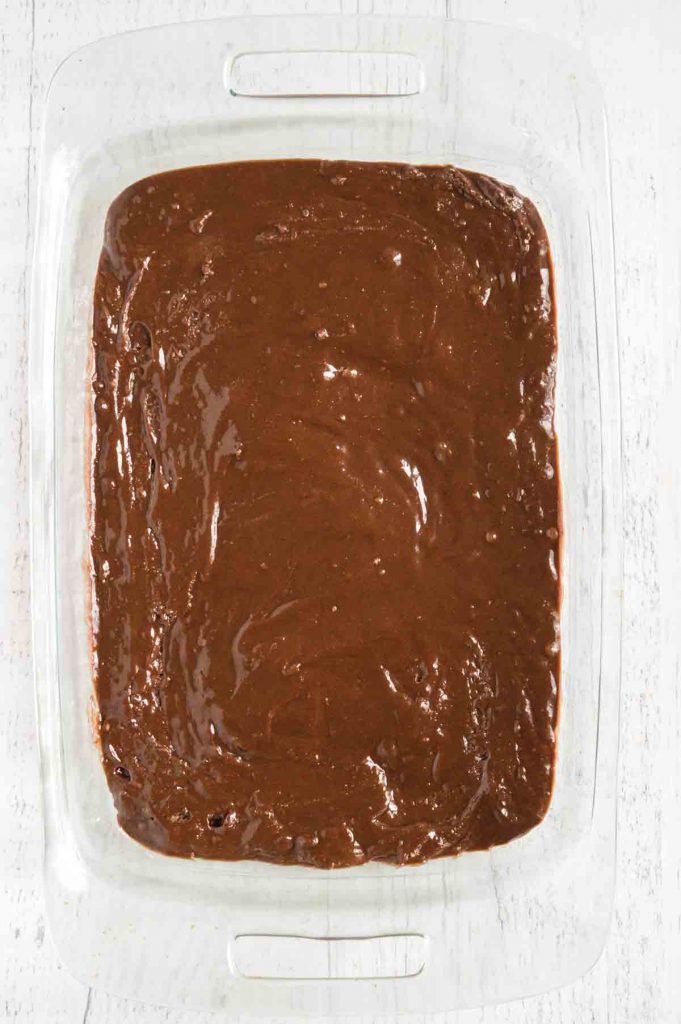
place in greased baking dish 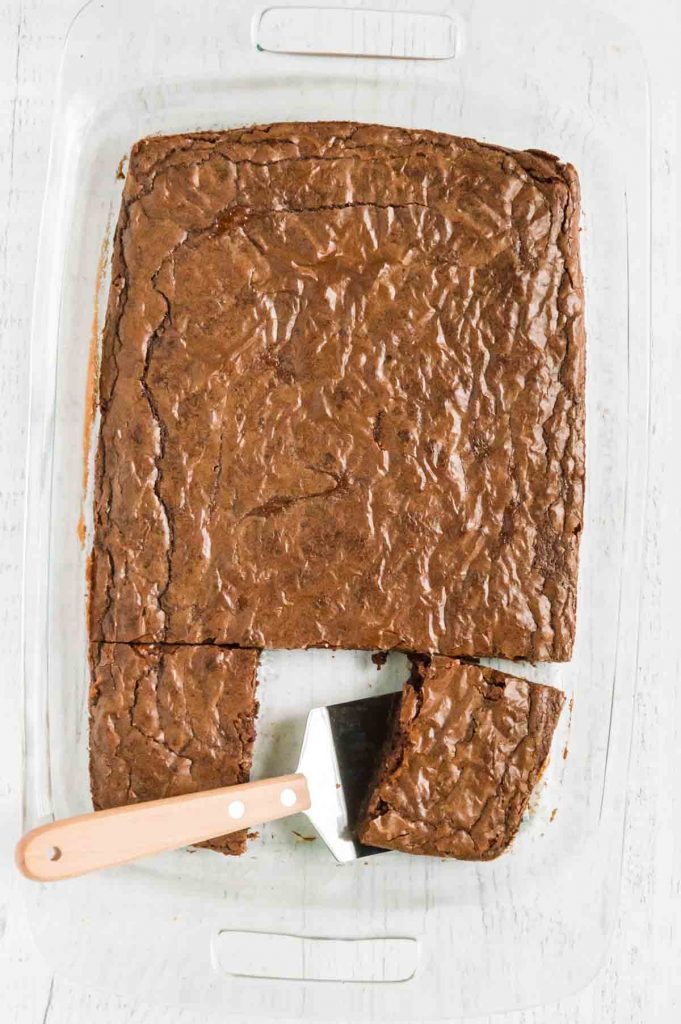
cut brownies 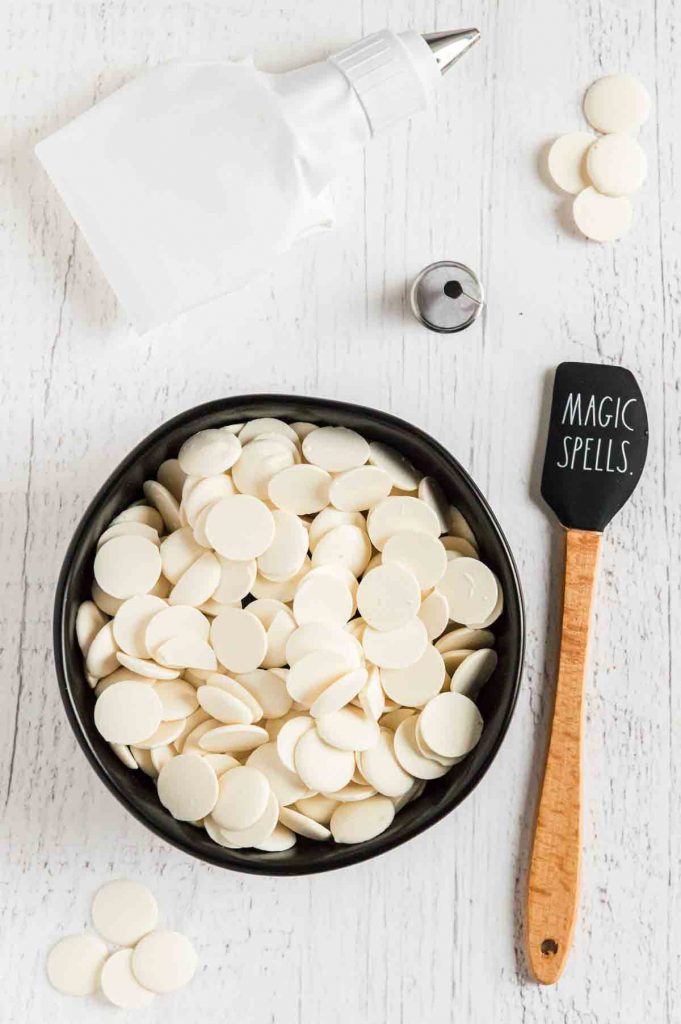
bowl of candy melts 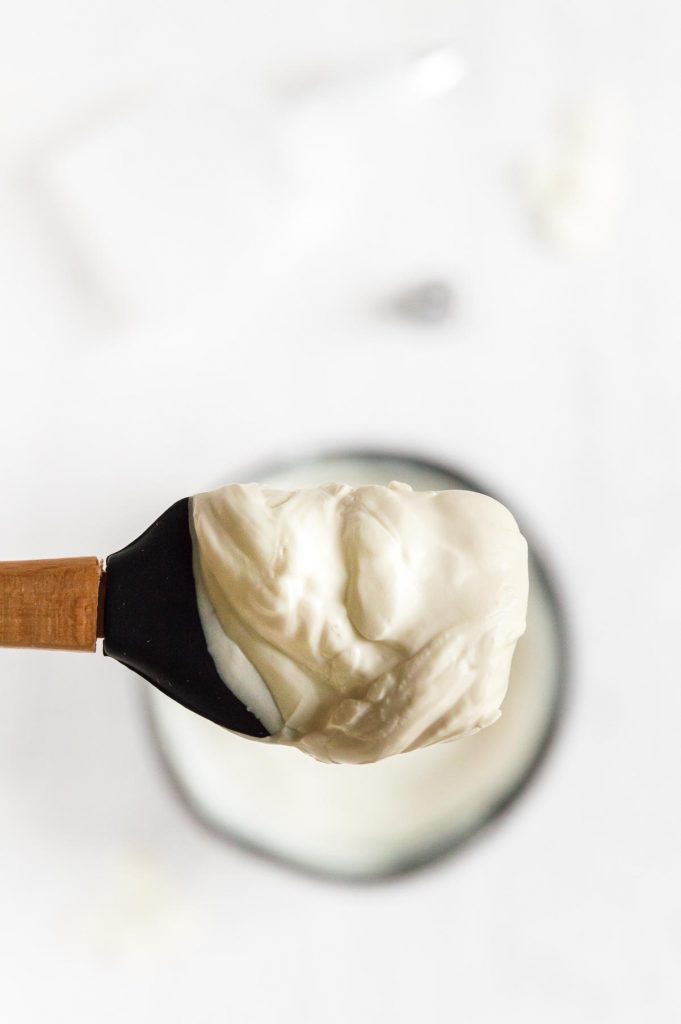
Melted from microwave candy frosting 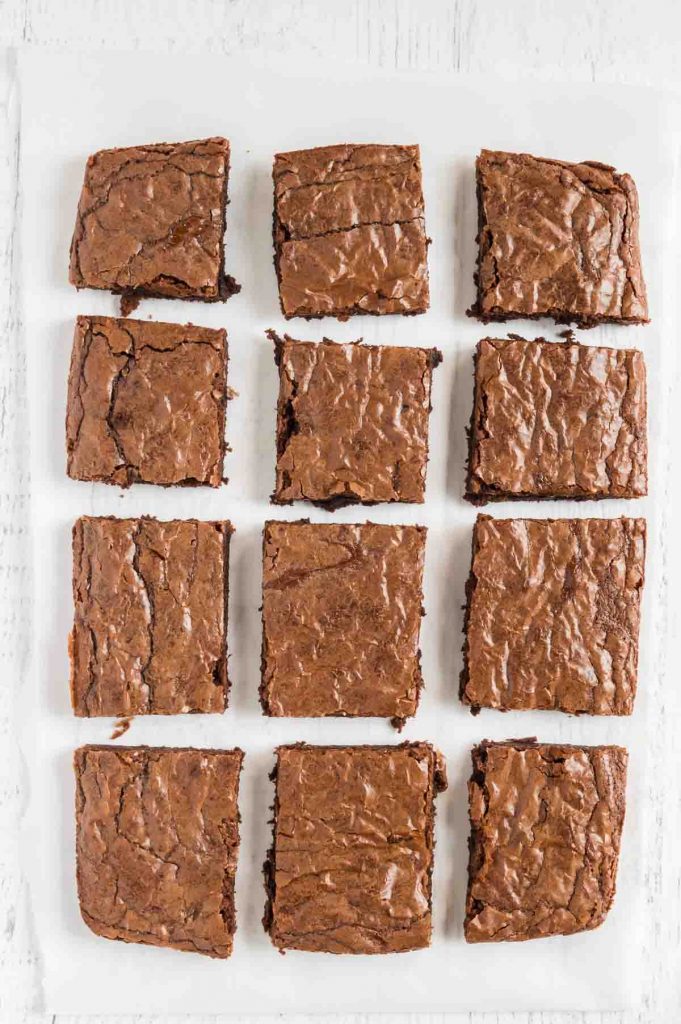
brownies ready for decorating dollop of frosting, outlined 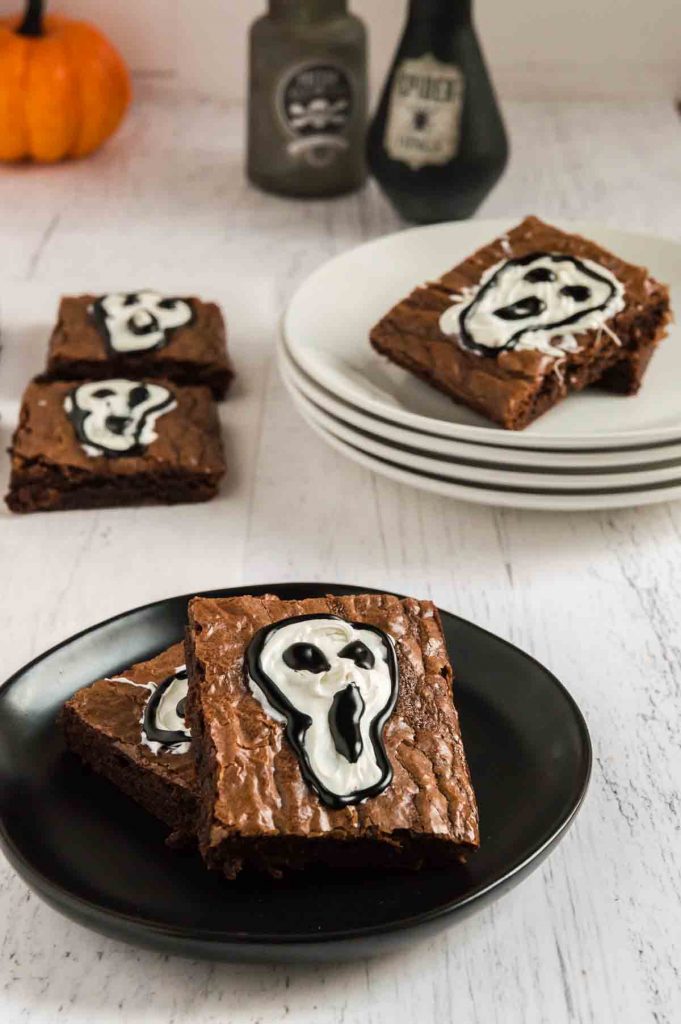
Final brownies to eat
How to make these festive Halloween treats
- Buy a store-bought brownie mix you love. I used Duncan Hines Fudge Brownies. Follow the directions on the box and be careful to not over mix. Only 50 strokes in stirring for tender moist brownies.
- Grease the pan so they don’t stick. I use a small pat of butter because butter tastes better than a spray.
- Let the brownies cool completely before you decorate them. The cookie frosting candy melts will be a mess if you put them on warm brownies….. trust me— the shape won’t hold, it’s worth waiting until they are cooled completely.
- Cut the brownies to the shape you want to serve before decorating. This will guarantee everyone who eats one will get a full screaming creepy skull on their brownie!
Decorating “The Scream” onto your Brownies
- Melt the candy melts in the microwave in 30-second increments until fully melted and one creamy consistency. You’ll want to do this after the brownies have cooled and you’re ready to decorate.
- You can use a piping bag with a small tip, but I found just putting a dollop on the top third of the brownie then spreading into the skull shape worked super well. (And less to clean up with no piping bag.)
- Do all of the brownies with the skull first. Let them dry for a bit so the black edges will stick to them.
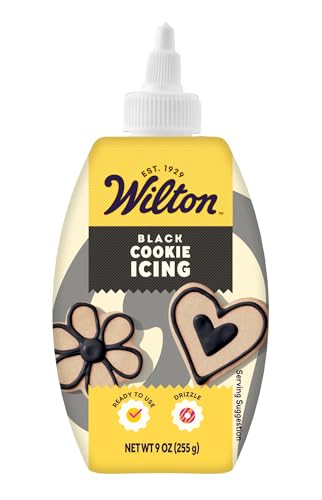
- Using a cookie icing package in black, pipe an outline and eyes. Lastly, do the mouth with a long oval open in the middle so it looks like it is screaming.
More Halloween Brownie Decrating Ideas:
- Pipe the words Boo on each individual brownies.
- Halloween Brownie Decorating would not be complete without a spider piped on top!
- Piping a bat to decorate festively for halloween is easy—- and you can use red hots for candy eyes!
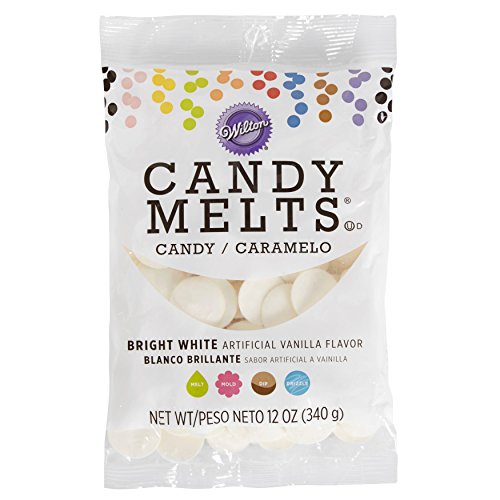
PRO TIP: When buying white candy melts be sure and buy the bright white ones. While they do use artificial vanilla flavoring, they are a try white, instead of a yellow cast white when you buy the ones that use real vanilla extract.
More Halloween Party Food you might enjoy!
- Spooky 7 Layer Dip (8 different Halloween themed ideas to try!)
- Creepy Eye Popcorn Balls
- Ghouls Blood Cocktail (I mean, look at this screaming bright blue color!!)
- Festive Jackolantern Cheese Ball (make a party tray! )
- Scary Eyeball Meatballs
- Mummy Cheese Bread ~ make several trays so they are ready to pop into the oven!
- Chocolate Halloween Dipped cones with Homemade Pumpkin Ice Cream (no ice cream maker needed!)
- Halloween Chex Mix
- Chocolate Bark Halloween Style
Take a look more spooky Halloween recipes from our #HalloweenTreatsWeek Bloggers today:
Halloween Cookies & Bars:
- Cake Mix Monster Cookies from Big Bear’s Wife
- Candy Bar Cookies from Devour Dinner
- Oreo Mummy Cookies from Savory Experiments
- Easy Halloween Cake Mix Sprinkle Cookies from Family Around the Table
- Halloween Sugar Cookie Bars from House of Nash Eats
- Eye Love Chocolate Sugar Cookies from An Affair From the Heart
- Pumpkin Cheesecake Bars from Back To My Southern Roots
Halloween Cakes & Cupcakes:
- Bloody Broken Glass Red Velvet Cake from Hezzi-D’s Books and Cooks
- Halloween Bats Oreo Cupcakes from Lemon Blossoms
- Pumpkin Cupcakes with Maple Frosting from The Flour Handprint
Halloween Brownies:
- The Scream Brownies from West Via Midwest
- Halloween Monster Chocolate Cake Brownies from JZ Eats
- Halloween Marshmallow Brownies from Sweet Beginnings
Halloween Pies:
- Halloween Mini S’mores Pudding Pies from For the Love of Food
- Jack Skellington Boo-berry Pie from Savory Moments
Halloween Breakfast:
- Halloween Smoothie Bowl from Fresh Coast Eats
- Halloween Pancakes from I Am A Honeybee
- Pumpkin Spice Donuts from Pastry Chef Online
Halloween Drinks:
- Bloody Hot Cocoa from It’s Shanaka
Chilled Halloween Treats:
- Pennywise Ice Cream Float from Cheese Curd in Paradise
- Wicked Witch Popsicles from A Kitchen Hoor’s Adventures
No-Bake Desserts:
- Muddy Buddy Halloween Snack Mix from Tastes of Homemade
- Candy Corn Rice Crispy Treats from The Spiffy Cookie
- Kid-Friendly Halloween Snack Board from Love and Confections
- Rice Krispie Treat Haunted Houses from Sweet ReciPEAS
- Ghostly Snack Mix from Fake Ginger
- Spooky Pretzel Rods from Take Two Tapas
- Halloween Candy Bark from Karen’s Kitchen Stories
- Batty For Chocolate Dessert Cheese Ball from 4 Sons R Us
- Pumpkin Spice Cheesecake Dip from Strawberry Blondie Kitchen
The Scream Brownies - Halloween Food Ideas

These creepy scream brownies are super easy to make with a mix and some frosting. Your Halloween party food at its easiest!
Ingredients
- Brownie Mix (I used Duncan Hines Fudge Brownie)
- 2 Eggs, large
- 1/2 Cup Vegetable Oil
- 1/4 Cup Water
- 1/2 cup White Candy Melts
- Black Cookie Icing
Instructions
- Preheat oven to 350°
- Add brownie mix, eggs, oil and water to a mixing bowl. (these are the ingredients and directions for using the Duncan Hines Brownie mix, use your store-bought package directions that is on the box you purchased.
- Using a mixer or by hand, beat for about 45 seconds until well combined, or 5o strokes if by hand. Do not over mix.
- Grease the bottom and sides of a 9 X 13 baking dish.
- Pour brownie mixture in and bake for 21-23 minutes.
- Allow to cool completely on a wire rack in the baking dish.
- Cut brownies into squares. I cut them into 4 rows of 3 wide, but you can cut them to whatever size you want to serve.
- Place the candy melts in a microwave-safe bowl. Microwave on high for 45 seconds. Remove, stir with a spatula. Place back into the microwave and cook for 30 seconds more. Repeat this process until the white candy is all melted and easily spreadable.
- Using a small teaspoon, place a dollop of white candy melt on the top 1/2 of the brownie. Then spread the mixture to resemble a skull. Repeat for all of the tops of your brownies.
- Using the black cookie icing with a small tip (or make your own with powdered sugar, milk and black gel coloring) pipe an outline of the skill and two eyes and an open mouth that is elongated like it is screaming.
- Allow frosting and candy melt mixture to set. Then store in an airtight container until ready to serve.
- I don't stack them on top of each other even when they are dry so they stay pretty... I think they look better if not smushed... but my neighbor kids think they are ok no matter what they look like.
- These will keep in a sealed container for up to a week.
Notes
1. Buy the white candy melts marked bright white. They will use artificial vanilla flavoring, but will not have a yellow cast that the melts with real vanilla flavoring have.
Recommended Products
As an Amazon Associate and member of other affiliate programs, I earn from qualifying purchases at no additional cost to you.
Nutrition Information:
Yield:
12Serving Size:
1Amount Per Serving: Calories: 165Total Fat: 11gSaturated Fat: 1gTrans Fat: 0gUnsaturated Fat: 9gCholesterol: 31mgSodium: 36mgCarbohydrates: 15gFiber: 0gSugar: 9gProtein: 1g
This recipe was calculated using the exact brands and measurements I used to make this recipe. If you are following a strict diet please note changing anything will cause the nutritional info to change. Please calculate your own nutritional information if you want it exact to what you make and use my calculations as a guide only.
36 Best Halloween Brownie Ideas
Tuesday 15th of July 2025
[…] GET FULL RECIPE HERE […]
Spooky Halloween Monster Brownies
Tuesday 21st of May 2024
[…] The Scream Brownies from West Via Midwest […]
Bloody Glass Shard Red Velvet Cake #HalloweenTreatsWeek - Hezzi-D's Books and Cooks
Sunday 18th of September 2022
[…] The Scream Brownies from West Via Midwest […]
Easy Pumpkin Cheesecake Bars - Back To My Southern Roots
Friday 15th of July 2022
[…] The Scream Brownies from West Via Midwest […]
Easy Halloween Cake Mix Sprinkle Cookies • Family Around the Table
Monday 25th of April 2022
[…] The Scream Brownies from West Via Midwest […]